Instructions
- Cookie Dough:
- Start by beating the butter with an electric mixer for 2 minutes, until fluffy and creamy.
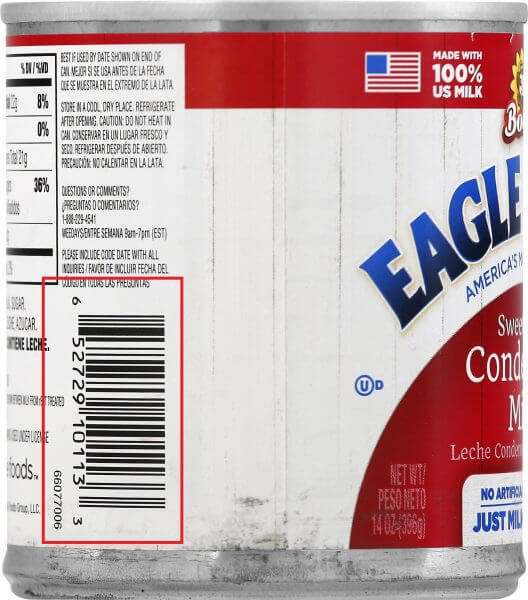
- Add the Eagle Brand® Sweetened Condensed Milk and mix to combine.
- Add the granulated sugar and mix on medium speed until incorporated.
- Then add the egg and vanilla to the bowl and mix to combine. Remember to scrape the sides of the bowl occasionally to ensure all ingredients are getting blended together.
- Add the flour, baking powder, and salt, mix on the lowest setting until almost entirely incorporated. I like to finish mixing the ingredients by hand with a spatula which ensures the dough isn’t getting overworked, and also ensures all ingredients from the bottom of the bowl and getting incorporated nicely together.
- Transfer the dough to the counter and wrap it on plastic tightly. Place it in the fridge for at least 2 hours or overnight.
- Preheat the oven to 350ºF.
- After 2 hours, remove the dough from the fridge, cut it into 4 pieces and work with one piece at a time, leaving the other pieces covered with the plastic, inside the fridge.
- Sprinkle the counter with some flour, and then sprinkle some flour on top of the piece of dough. Begin rolling with a rolling pin, until the dough is 3/4†thick. You may need to add more flour to the bottom of the dough, so it doesn’t stick to the counter, but don’t be so liberal with the flour, you don’t want to add too much of it, because it can make the dough dry.
- Use the cookie cutters of your choice to cut shapes out of the cookie dough, and place the shapes about 1 inch apart from each other on top of a parchment paper-lined baking sheet.
- Bake the cookies in the preheated oven for 10 to 12 minutes, time baking will depend on the size of the cookies, smaller cookies will take less time to bake, and big cookies will take longer. Once the cookies start to look slightly golden around the edges you can remove them from the oven, don’t let them get too golden though, or they will be overbaked and hard as they cool down.
- Gather the leftover dough back into a ball, then flatten it out and roll it out, repeat cutting with the cookie cutters.
- Note from Camila: I don’t like to re-roll the dough scraps more than once, because the cookies tend to become tough after that because the dough becomes overworked.Repeat rolling, cutting, and baking with the remaining dough that’s in the fridge.
Once the cookies have cooled down, you can decorate them with royal icing, buttercream frosting, or any other frosting you’d like. I have decorated some cookies with royal icing, and I have also made some into a star tree. - Royal Icing:
- Beat all ingredients together, except for the food coloring, for about 5 minutes on high speed.
- Divide into different bowls to make different colors. I made green, red, brown, and left one bowl white. Remember to always keep the royal icing covered, or it will start to dry out pretty soon. You might need to add more water to adjust the consistency, or maybe, even more, sifted powdered sugar, if your icing is too thin. The consistency should be flowing but not too liquidy.
- Place the icing in a piping bag and tie the end with a bag tie.
- Note from Camila: To decorate the Christmas trees, I piped some green frosting around the edges of the cookies and then filled the center with more royal icing. Then I left it drying for an hour or so. After the green royal icing was dry, I used the brown icing with tip number 1, to draw lines in the Christmas tree. And using the red icing, with a tip number 1, I piped some Christmas balls on the tree. For the star on top, I used a star sprinkle, and a bit of royal icing dabbed on the back of the star to glue it to the top of the tree. And for the mittens, I simply piped a line of red royal icing around the edges of the cookie, and then filled the middle with more red royal icing, and decorated the bottom with white royal icing.
- Buttercream:
- Beat the butter with an electric mixer at medium-high speed until smooth, for a few minutes.
- Add the powdered sugar and vanilla, mix on low to combine, and then raise the speed to medium-high and beat for another minute or two.
- Add food coloring as you wish, I added a bit of pistachio gel food coloring, and leaf green gel food coloring.
- Add the milk only if necessary, if the frosting is too stiff.
- This amount of frosting will be enough to decorate about 3 Christmas trees.
- Note from Camilla: To make the star Christmas trees, I used a set of cutters that went from the smallest to the largest size, and there were 7 different sizes. Once the cookies are baked and cooled down, place the largest star on a cake plate, then pipe buttercream on top using a start piping tip. Top with the next smallest star. Pipe buttercream on top, and place the next smallest star on top of it. Repeat this until you have used all the stars. Then you can decorate the tree with sprinkles, and also sift some powdered sugar on top of the tree to decorate it.
- StorageThe cookies decorated with royal icing will last quite a bit at room temperature in an air-tight container, for about 10 days.The tree with the buttercream should be refrigerated if you have added milk to the frosting, if not, it can stay at room temperature for a day or so. If you keep the tree in the fridge, make sure to let it come to room temperature slightly before serving.
- Recipe by our friend Camila @Piesandtacos

